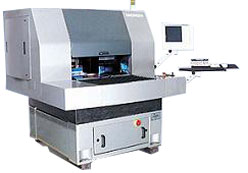
The EZ3D system is designed to perform measurements and to edit desired CNC measuring programs. It has several major advantages including a high measuring speed, high precision and great stability.
A quick and easy way to measure and check drill diameters, the Optech M1 uses a non-contact measurement system to avoid damage to the cutting tool. The unit can also be connected to a stand-alone printer or via an interface onto a personnel computer.
The MDP 10 utilises proprietary technology gained from manufacturing to offer a micro drill repointing solution and is particularly suited to our undercut series of drills. Used exclusively by our re-point and service partners, these machines ensure point perfect reliability.
Hole-AOI
The system measures the position, diameter and roughness of a drilled hole. It also can detect the shrinkage/expansion rate of PCB / Film
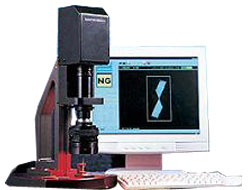
The Line Gauge system is specially designed for desktop use in order to measure conductor line widths, conductor line spaces, arcs, circles and other patterns on the PCB board. It can measure a conductor line width less than 1 mil.
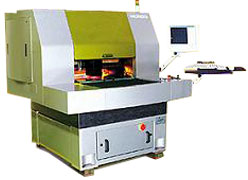
The Microvia-AOI system inspects for all of the following laser via defects: board shrinkage/expansion, conformal mask shifts, missing etchings, under drilling, over drilling, pad shifts, bias drilling, and relative size differences.
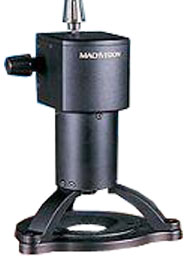
The Point Gauge system can measure eight major defects, including offsets, gaps, overlaps, hooking, laybacks, chips, tapers, and flares. The Point Gauge system contains a high resolution CCD and lens, which can capture bit images with diameters from 0.1 mm to 0.7 mm.
As part of controlling the drilling process the maintenance of the vacuum force, pressure foot pressure and the even distribution of the pressure foot bush on the entry board, are all essential for precise and reliable micro drilling. Uniquely, PV checker measures these values right at the point of contact. Giving accurate and real data on the processor module, the PV checker also produces an imprint of the contact points of the pressure foot bush during the drill cycle.
A company requiring semi automatic ring-setting, but on a smaller scale can chose from the RSM M1 and the RSM M2. These offer the same passive setting technology as the bigger machine, but are loaded manually. For larger diameter drills, the RSM M2 ring sets drills in the diameter range 3.2mm – 6.5mm.
An easy to use solution for measuring and controlling spindle run-out. The Optech RI-III meets today’s high speed spindle demands with capability to 200,000 RPM. The unit measures in Micron ensuring reliable and accurate measurements.


