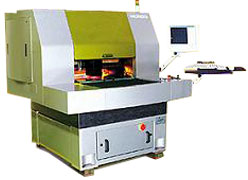
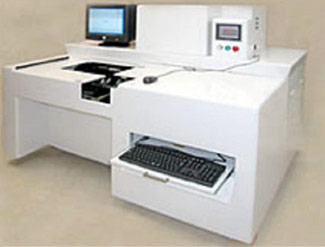
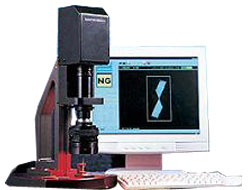
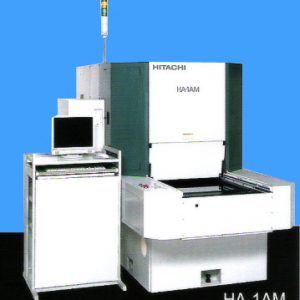
The Microvia-AOI system inspects for all of the following laser via defects: board shrinkage/expansion, conformal mask shifts, missing etchings, under drilling, over drilling, pad shifts, bias drilling, and relative size differences.
This high performance multilayer press was designed for PCB labs to enable quick prototyping of multilayer PCBs of up to 6 or 8 layers according to industry standards. A compact and floor standing aluminium rack contains all parts of the unit including pressure supply, press plates and heaters.
Features
- Cutting width max. 530 mm
- Two knifes made of hardened and ground steel
- Spring loaded built-in clamping unit in the front
- Transparent cover hood for user safety and visual control
- Metric edge scales in the front
- Fully adjustable back stop with metric scale for batch work (0…300 mm)
- Smallest cutting size (front) 45 mm
- Durable full steel construction
- All important parts angular adjustable
- Simple exchange of blades
- Adjustable cutting angle
- Adjustable clearance
The newly developed image Processing Technology gives highly reliable detection of OPEN, SHORT, CONTAMINATION, STAIN, SCRATCH, and DISCOLORATION on PCBs. Miss-Detection by Over Care is minimized. The most suitable for inspection on High Density Board such as COB and BGA,and inspection on solder leveler PCBs
Manufacturer: GLUNZ & ZENSEN, Switzerland Multiline PRO
Technical Data
- Maximum film size: 400 mm x 320 mm
- Maximum plotting area: 380 x 300 mm
- Resolution X: 8 selections from 508 to 8192 dpi
- Resolution Y: 8000 dpi
- Plotting speed: 10 mm of film width / minute for 1016 dpi
- Source of light: Laser diode 670 nm (red)
- Data input: Gerber (RS 274D, RS 274 X), high resolution BMP
- Photoplotter software, included on CD:
- Gerber viewer; Automatic aperture converter for all known Electronic CAD layout systems
- D-code editing, output preview & print
- Interactive, absolute or relative image positioning, film and drill penalization
- Negative plotting, image mirroring
- Control software for Windows 98 … XP included, USB connection required
- Unit dimensions (LxWxH): 700x350x200 mm
Manufacturer: First EIE, Switzerland Photo Plotter
“Ultra thin PCB, VOP Board and HDI board are too thin to be dealt with humans so there is high risk of defect by human mistake or error.
To reduce this kind of mistake due to handling errors, fully automated system is required which can ensure all the process from loading to unloading is automated.
Full Auto plasma system should be designed by considering characteristics of PCB such as size, handling method, line arrangement etc”
The Point Gauge system can measure eight major defects, including offsets, gaps, overlaps, hooking, laybacks, chips, tapers, and flares. The Point Gauge system contains a high resolution CCD and lens, which can capture bit images with diameters from 0.1 mm to 0.7 mm.
As part of controlling the drilling process the maintenance of the vacuum force, pressure foot pressure and the even distribution of the pressure foot bush on the entry board, are all essential for precise and reliable micro drilling. Uniquely, PV checker measures these values right at the point of contact. Giving accurate and real data on the processor module, the PV checker also produces an imprint of the contact points of the pressure foot bush during the drill cycle.
Manufacturer: Hitachi, Japan PWB Hole Analyzer / PWB Hole Tester Machine
RAYON Cleaning Machine eliminate micro dusts and particles attaching onto the surfaces of objects such as PCBs, films and so on. As a result, the productivity is on. As Cleaning Machines are contributing to improving the quality of not only PCBs but also various products in the manufacturing processes.
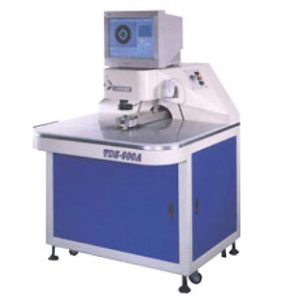
Manufacturer: Kuang Chien Computer Co., Ltd. (Comweb, Taiwan)Model No. TDZ-600AW
A company requiring semi automatic ring-setting, but on a smaller scale can chose from the RSM M1 and the RSM M2. These offer the same passive setting technology as the bigger machine, but are loaded manually. For larger diameter drills, the RSM M2 ring sets drills in the diameter range 3.2mm – 6.5mm.
RCM routers are recommended for CNC routing machines and utilise an updraft cutting action, yielding a clean work surface.
An easy to use solution for measuring and controlling spindle run-out. The Optech RI-III meets today’s high speed spindle demands with capability to 200,000 RPM. The unit measures in Micron ensuring reliable and accurate measurements.


